In this article, I will show you how to get subtitles on Kodi. This guide will work for Android Box, PC, Firestick, Fire TV, Fire TV Cube, FireStick 4k, and all other Kodi supported platforms.
Subtitles, also known as closed captioning, is one of the things you want to enable in a case of either foreign content or poor audio quality while streaming on Kodi. Some Kodi add-ons do integrate subtitle libraries but it is not reliable at all. Sometimes it works, other times it doesn’t work.
Now it is possible to link OpenSubtitles with Kodi. For those who don’t know, OpenSubtitles is a freely hosted service that accepts user-generated subtitles for movies and TV show episodes. You can use it as the subtitle provider in Kodi to fetch subtitles of your choice.
If you are looking for step-by-step instructions to get subtitles on Kodi, you are at the right place. This guide contains an extensive set of instructions that you need to follow to get Kodi Subtitles.
How to Get Kodi Subtitles With OpenSubtitles
Contents
Most of the Kodi Addons/Builds, developed by third-party developers, will give you unrestricted access to a lot of movies and TV shows. However, you must be cautious while using Kodi Addons and safeguard your identity. There’s always a risk of being monitored or tracked by Internet Service Provider (ISP) and government. Usage of Kodi Addons and builds for streaming copyrighted content might land you in trouble. Therefore, it’s recommended to use a reliable VPN app for safety reasons.
Using a VPN connection will also help you in bypassing geo-based restrictions. We recommend our readers to use IPVanish VPN while streaming. IPVanish VPN cleverly hides your identity by masking your IP address. Additionally, it comes with a 7-day money-back guarantee, you can raise a refund request in case if you’re not happy with the service. Click Here for IPVanish VPN @ 69% Off
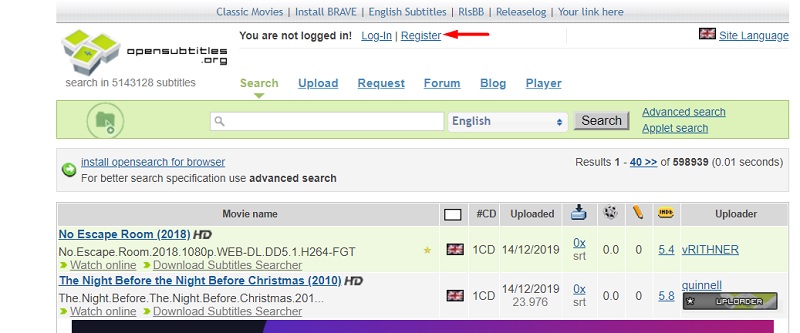
The first thing you will have to do is to open a web browser on any device and visit opensubtitles.org. Click the Register link at the top of the webpage and create an OpenSubtitles account.
- Launch Kodi on your streaming device.
- Click the gear icon above the sidebar to open Kodi’s System page.
- Select Add-ons from the first row of options on System.
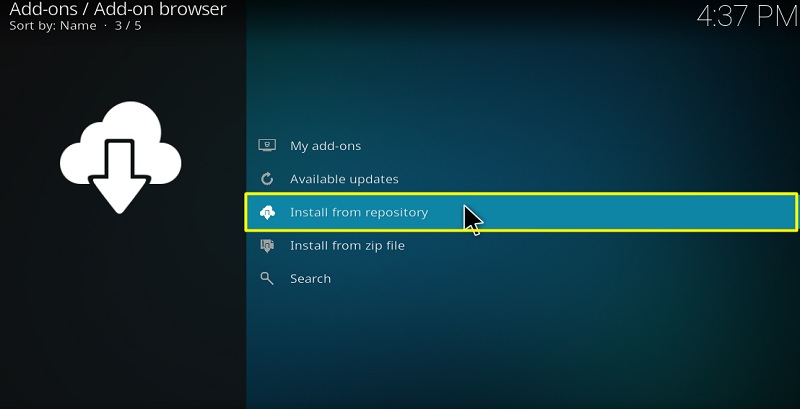
- After that, click Install from repository
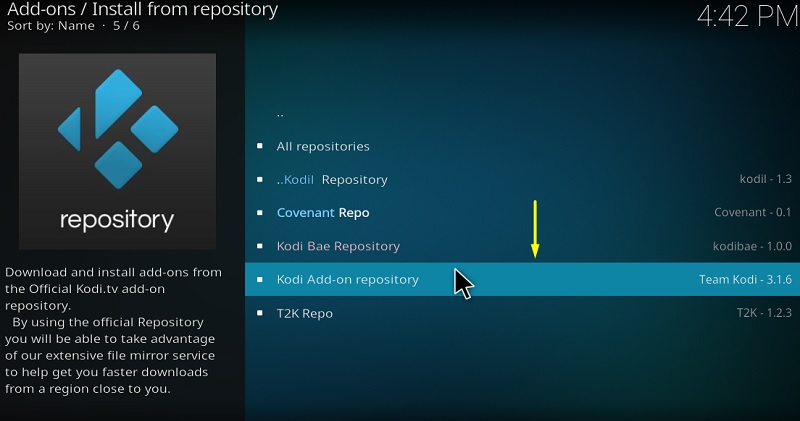
- choose the official Kodi Add-on repository.
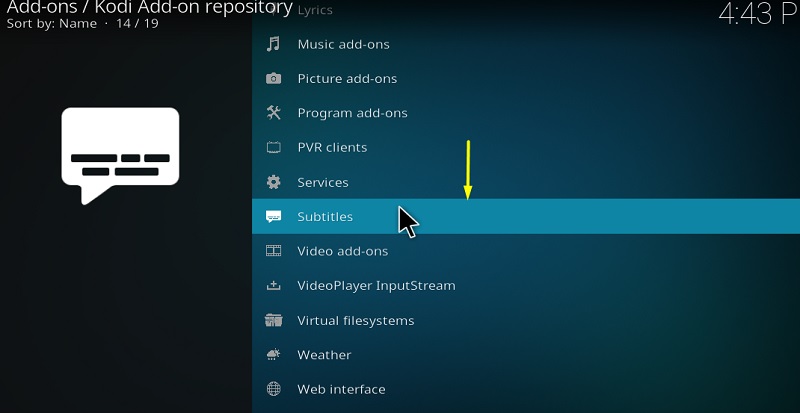
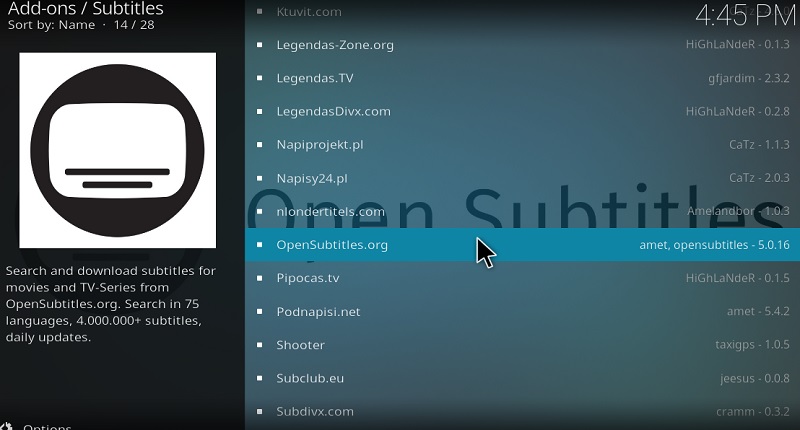
- Scroll down to find Subtitles in the list
- select opensubtitles.org from the repository folder.
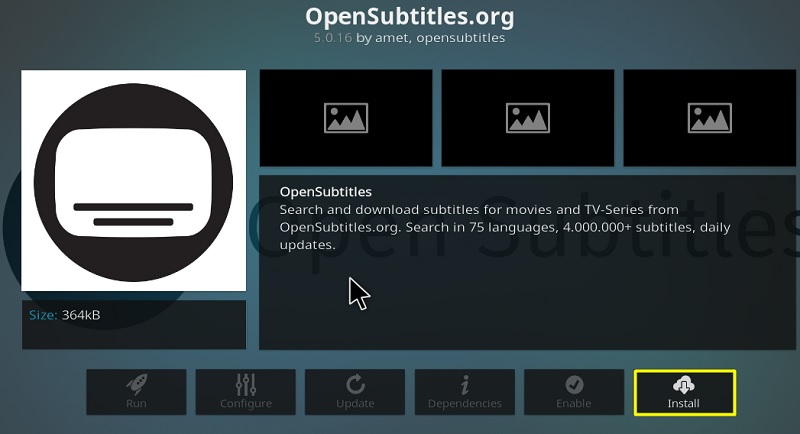
- Click the Install button under the add-on description. You will soon receive a notification in Kodi regarding the successful installation of the opensubtitles.org add-on.
We have now installed the OpenSubtitles add-on on Kodi. It requires some configuration tweaks in order to work properly. Here’s how to set up Kodi Subtitles with OpenSubtitiles addon.
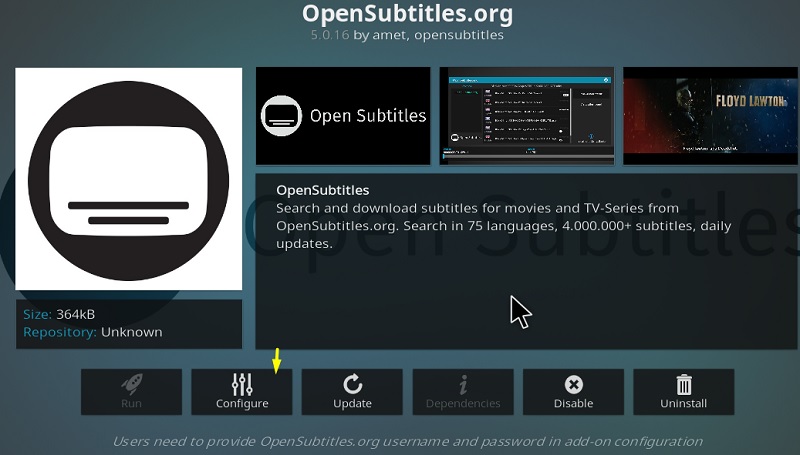
- In the Subtitles repository folder, click OpenSubtitles.org once again.
- Click the Configure.
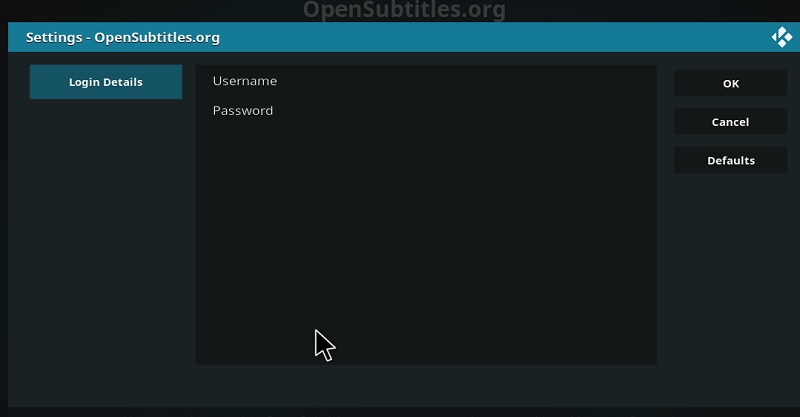
- Put your OpenSubtitles account username and password in the fields respectively.
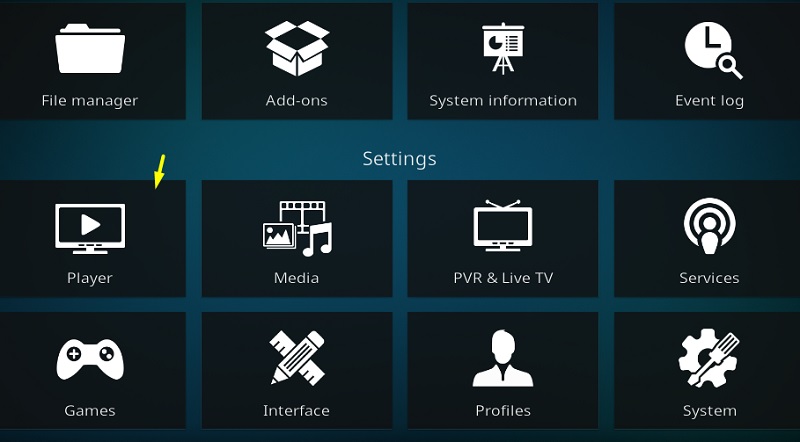
- Return to the System page to open Player under the Settings section.
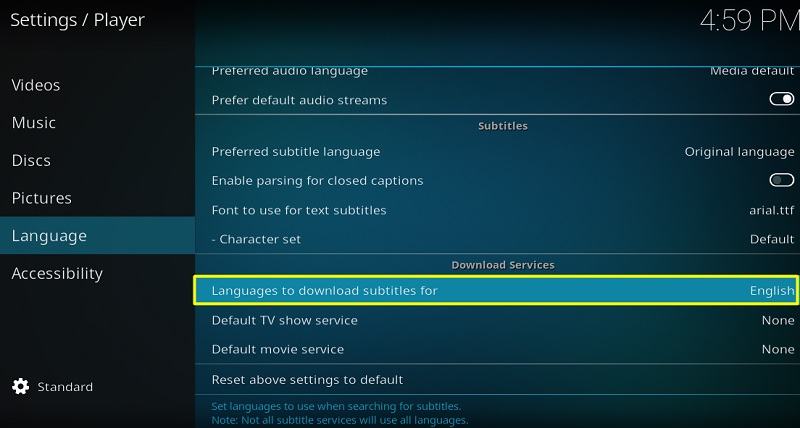
- Highlight the Language tab on the left, then scroll down to the Download Services
- Select “Languages to download subtitles for” and choose your preferred language.
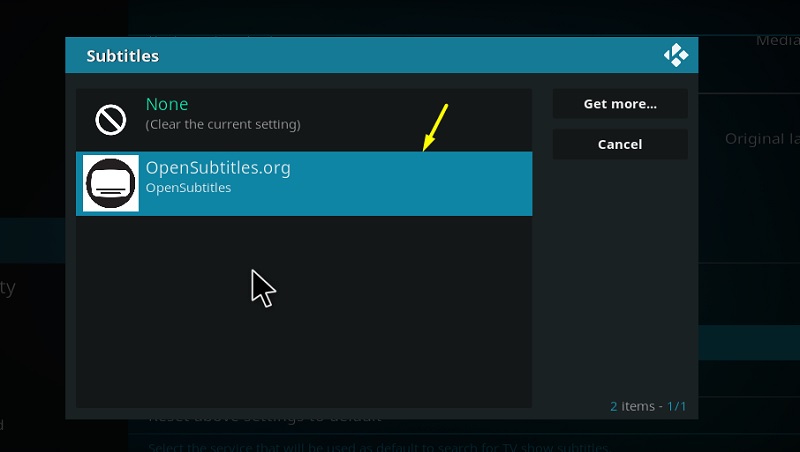
- Now select Default TV show service and select org. Do the same for the Default movie service.
You can now play your favorite movie or TV show with subtitles on Kodi. Just click the subtitle icon on the playback control bar below, then click the Download subtitle… option. Select a subtitle file in your preferred language from the list and return to enjoying your content on Kodi. Make sure you select the top-rated subtitles from the list to eliminate the possibilities of watching your favorite content with poorly translated, out-of-sync, and misleading subtitles.
How to Get Subtitles on Kodi – Alternate Method
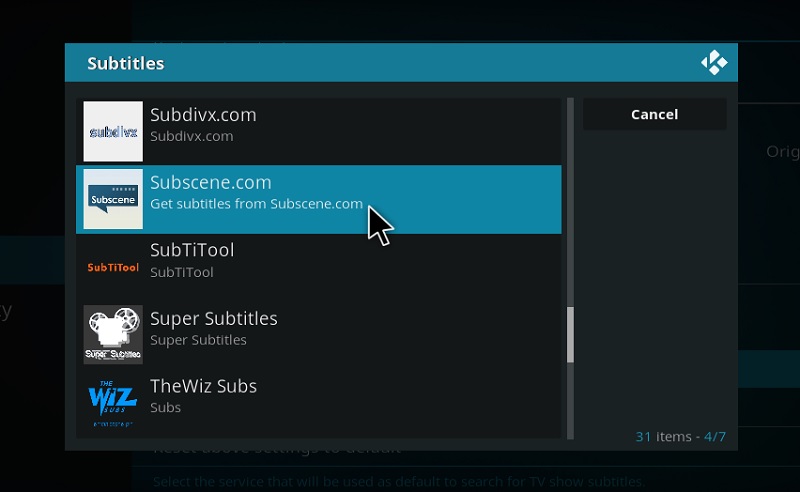
OpenSubtitles on Kodi requires you to sign up for an account and log in from the add-on configuration menu. However, a subtitle provider called Subscene doesn’t need users to sign up for an account to access its services. Here’s how to use subtitles for Kodi with Subscene
- Open Player from Kodi’s System page.
- Select the Language tab from the sidebar.
- Scroll down to click Default TV show service in the Download Services section.
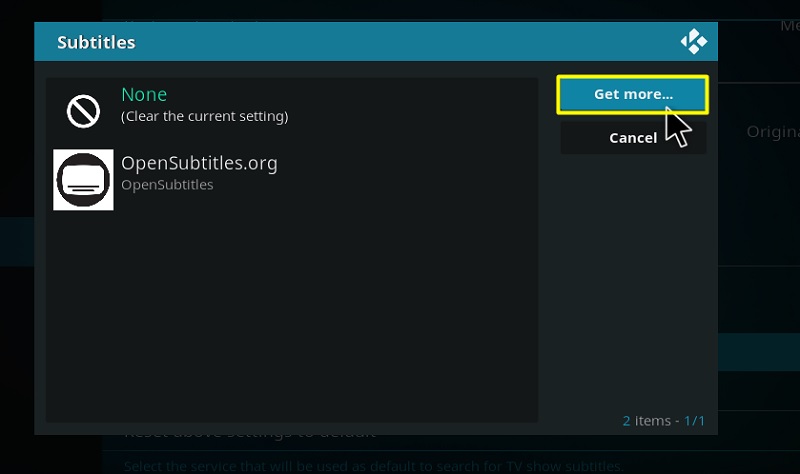
- Click the Get more… button in the window, then select com from the list of subtitle providers.
- Set Subscene.com as your Default TV show service and Default movie service.
You May Like
Wrapping Up
This guide consists of the necessary instructions to use OpenSubtitles and Subscene to get subtitles on Kodi. Note that you can select both of the subtitle providers to fetch closed captioning for your favorite movies or TV shows. Overall the setup process is easy to execute and doesn’t require any expertise.
